Step-by-Step Guide to Install Updates to XrmToolBox Tools
To maintain optimal performance and access new features, it’s important to install updates to XrmToolBox tools regularly. This guide will walk you through the process step by step.
When you log into XrmToolbox, you may see the message “Updates are available for your tools”:
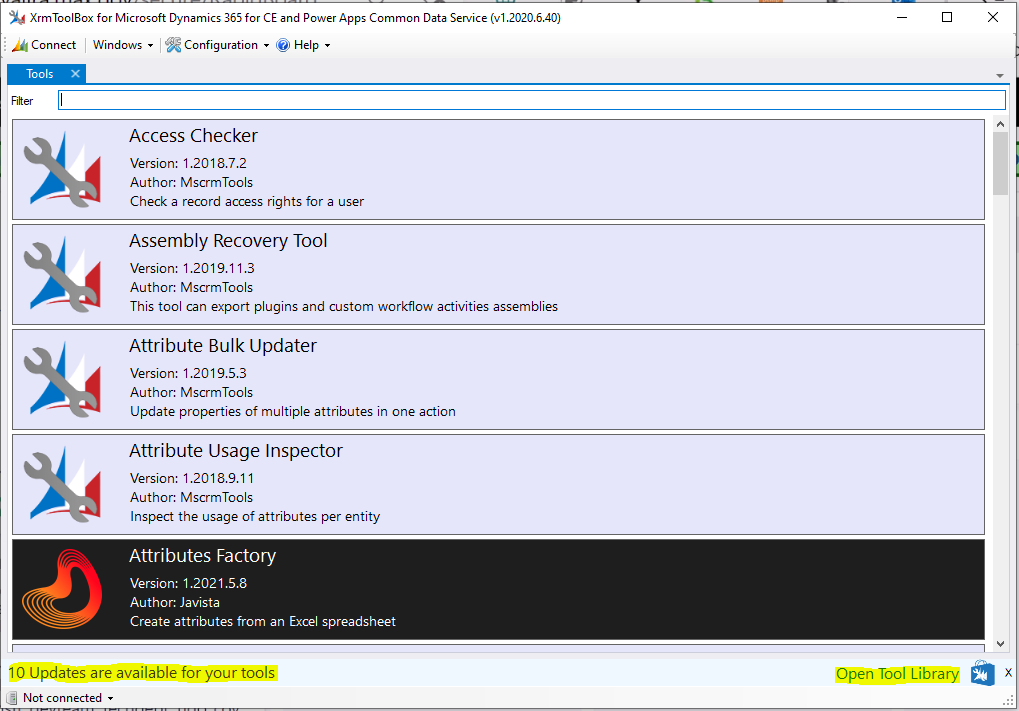
2. On the right, you will see the link to Open Tool Library. Selecting this opens the tool library like below, however it displays all tools in alphabetical order:

3. Scrolling to the right, we see the Action column:
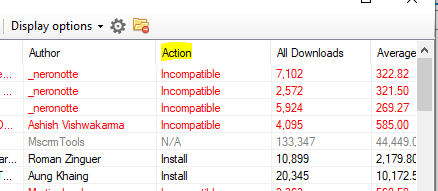
4. If we click to sort by Action, we can see XrmtoolBox color codes each line based on the action available:
- Red = Incompatible
- Black = Install (i.e. currently not installed in your environment)
- Grey = N/A (installed but no updates)
- Blue = Update
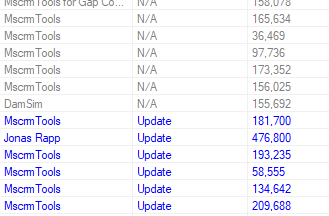
5. To update all the tools that require an update, simply select all of the blue ones:
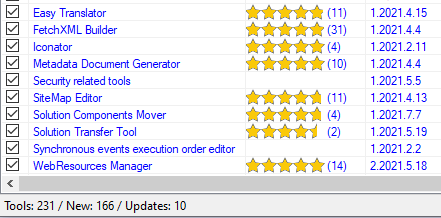
6. And click Install:

This will download each of the tools:

You may be prompted to restart XrmToolbox, and once complete, you should not see the Updates message any more:
Conclusion: regularly updating XrmToolBox tools ensures smooth and efficient performance. Ultimately, this practice saves time and prevents potential issues.”
THANK YOU FOR READING! BEFORE YOU GO, I HAVE A FAVOR TO ASK.
Lately, I’ve been dedicating more time to creating YouTube videos that guide people through the Microsoft Power Platform. If you’re interested in seeing how I develop apps or if my blog has been helpful to you, I would greatly appreciate it if you could subscribe to my YouTube channel.
Thanks again, and let’s continue learning together!
Channel Link : https://www.youtube.com/@powerappsninja
hi