I will show how to customize the Web Link entity table along with the Header Web Template and get the custom query parameters added once the menu is loaded.
First step is to add a custom attribute column to the Web Link table. I will call it Parameters and add to the form in my Model-Driven App (the format of this should be param1=value,param2=value…..):

Now we need to change the existing Header Web Template to add those parameters in the menu. The changes here should be made where the link <a> element is rendered (circa line 37 in the OOB code):

Here is the liquid code highlighted and an explanation of the changes:
{% if link.cr984_parameters %}
   {% assign linkParams = link.cr984_parameters |
 split: "," %}{% endif %}href="{{ link.url |
 escape }}{% if linkParams %}?{% for lp in linkParams %}
{{ lp }}
{% unless forloop.last %}&{% endunless %}
{% endfor %}{% endif %}"- if my custom column cr984_parameters is not empty, assign an array object (comma separated values) ;
- now when setting the href property, I am adding a ? and then looping through my parameters array, appending a & until the last position of the array;
As per my snapshot above, I am setting the Home Web Link parameters as param1=hello,param2=world.
Now once cleared the cache and just by hovering the mouse over the Home menu link, this is what I see in my browser:

The same code might need to be applied where the sublinks are rendered, but in my example I will just to it for the main Web Link (parent).
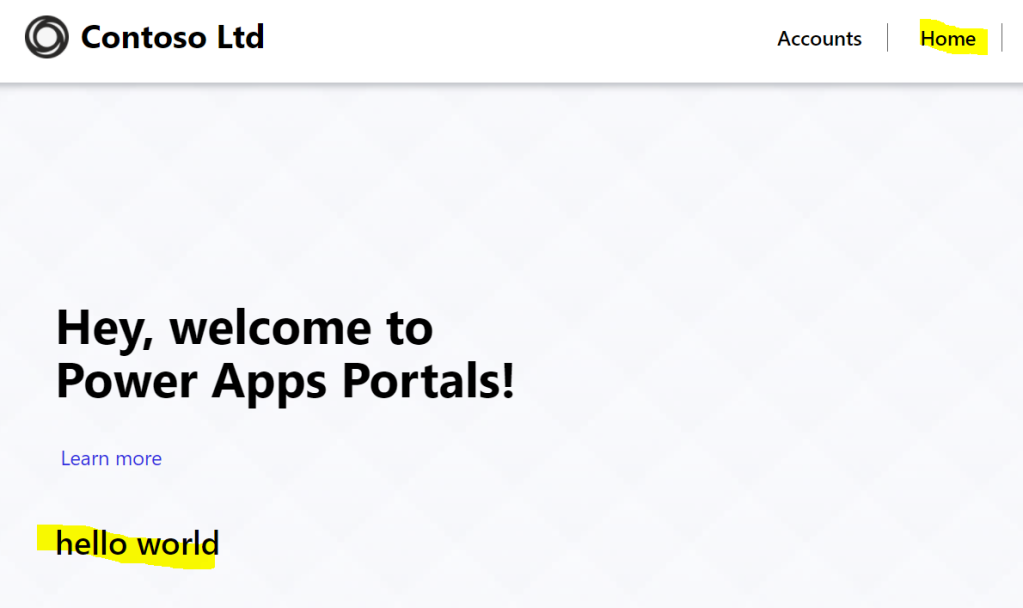
Now we can use the parameters in our page (via Liquid or JavaScript). Just for an example, I will render my parameters via Liquid in my Home Web Page: