
In this post, we will look at installing and setup of Dynamics 365 Portals from the Dynamics 365 side. To do this from the Power Apps side, see here.
First, let’s head over to the Dynamics 365 Admin Center. To get there, go to ,
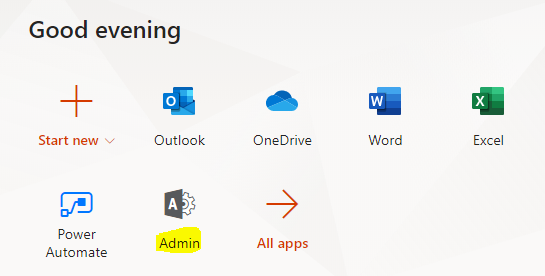
And select All Admin Centers:
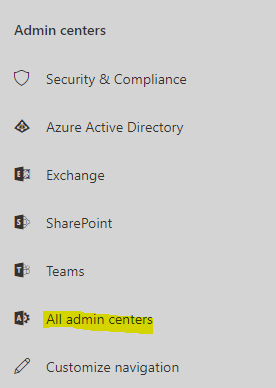
Then Dynamics 365:
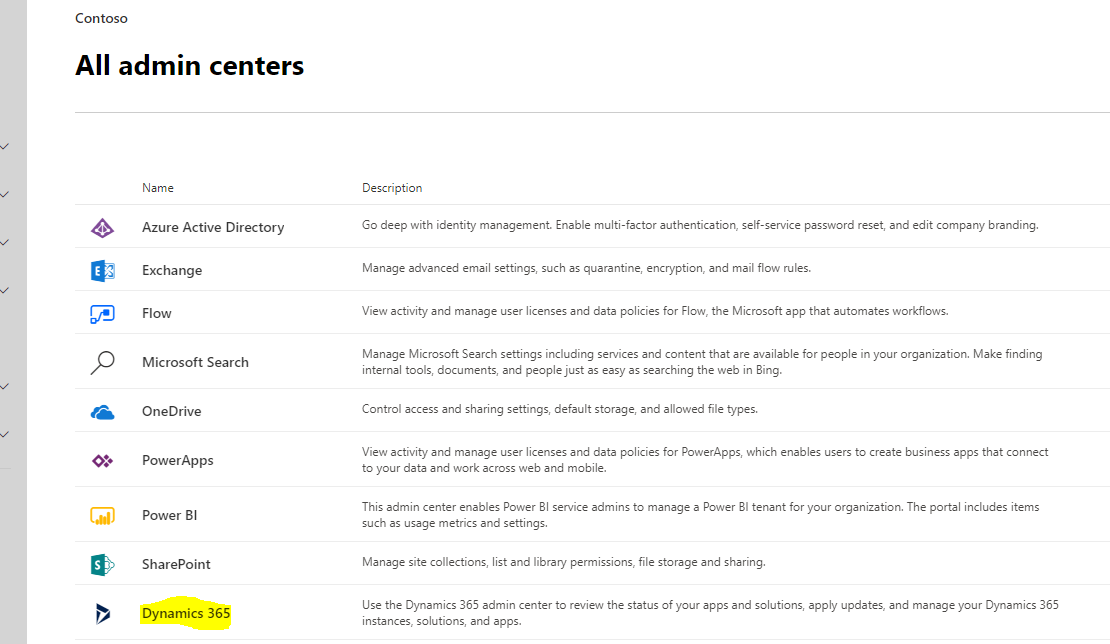
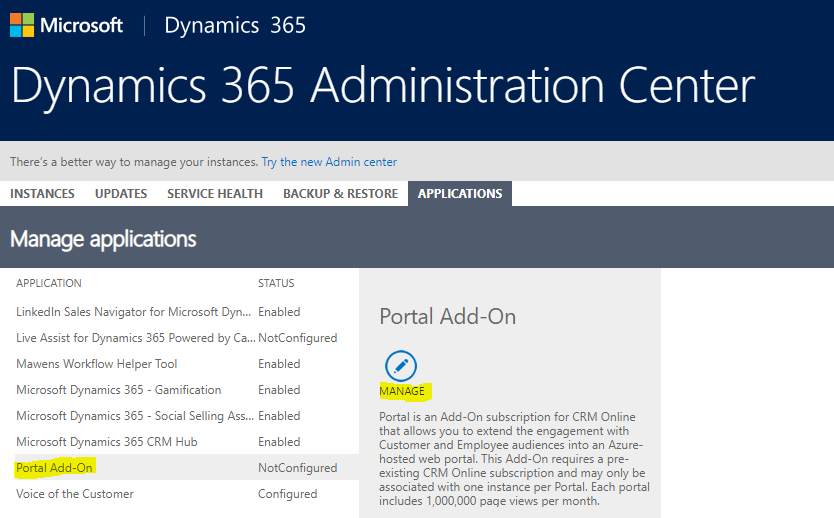
Select your Org, then Applications:

Find Portal Add-On, and then Manage:
We are taken to the PowerApps Portals Admin Center. Let’s give our new portal a name here. We will call it “powerappsninja” and use the URLhttps://www.youtube.com/@powerappsninja . We are also selecting the Dynamics 365 Org here:

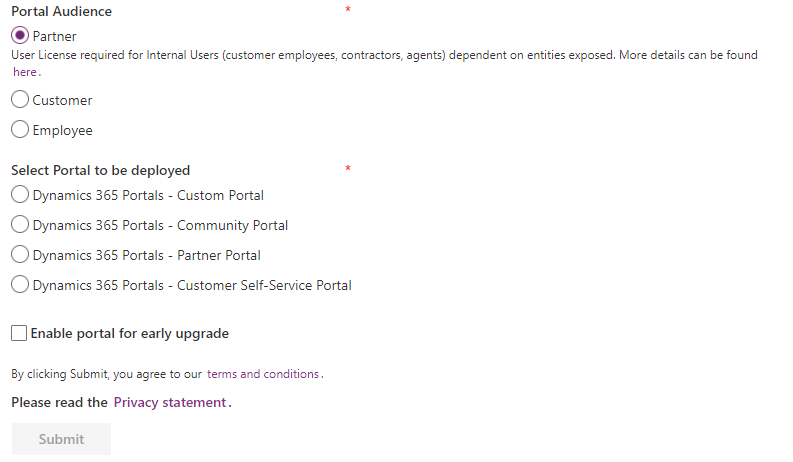
We are now prompted to enter the Portal Audience. We can choose from:
- Partner
- Customer
- Employee
Let’s select Partner. We see on selecting this, we have another option to choose, Portal to be displayed:
- Dynamics 365 Portals – Custom Portal
- Dynamics 365 Portals – Community Portal
- Dynamics 365 Portals – Partner Portal
- Dynamics 365 Portals – Customer Self-Service Portal
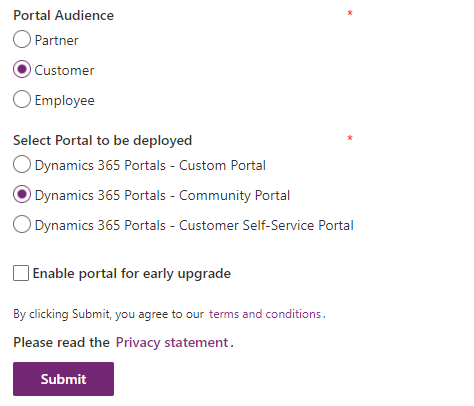
If we selected Customer, we would see:
- Dynamics 365 Portals – Custom Portal
- Dynamics 365 Portals – Community Portal
- Dynamics 365 Portals – Customer Self-Service Portal
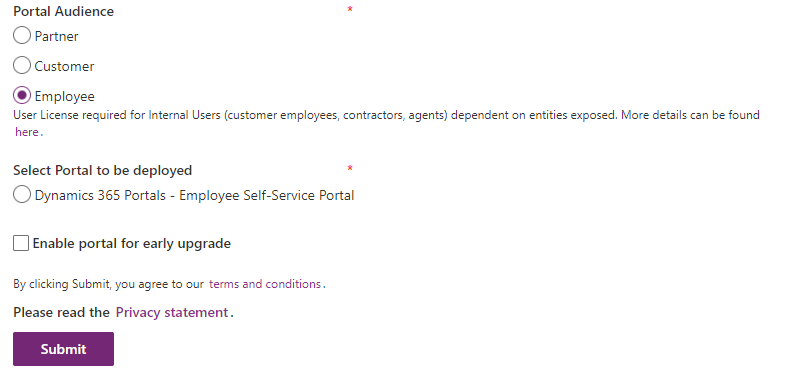
Selecting Employee gives us:
- Dynamics 365 Portals – Employee Self-Service Portal
Let’s create a Customer Self-Service Portal:
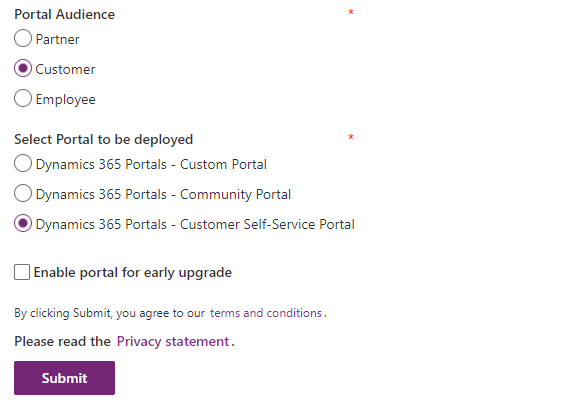
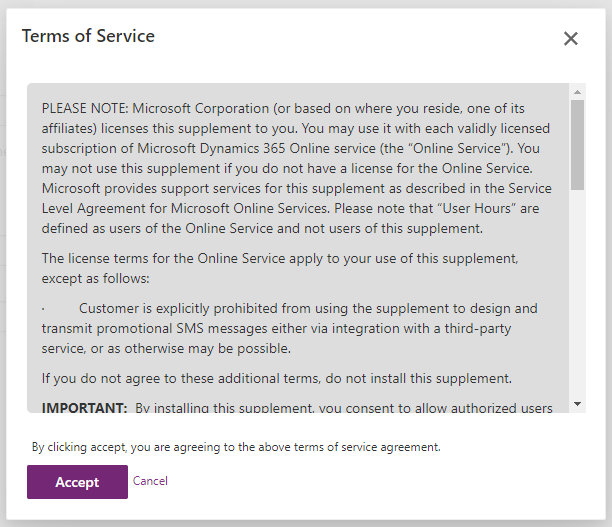
Click Accept:
We see the message “Your request has been submitted and request id is 4675c7c6-9bde-4d7c-86ec-b580dc7c1b60. This request might take some time to finish, so please click here after some time to see the status”:

And once complete, we see the PowerApps Portal Admin Center has a lot more configuration, with the Base URL available:

Clicking on the URL takes us to our new portal:

Let’s create a new customer account by selecting Sign In:
